Grow With Us
Thanks for snagging one of our grow kits at the farmers market!
We’re excited for your journey growing mushrooms!
It is more simple than you think!
1. Cut & Fold
Cut a 3–4” slit into the bag where the white mycelium looks thick and healthy.
Roll down the top of the bag to just above the block. Roll so the filter patch is tight to the block surface. We want the block only getting air from the slit.
2. Wrap with Damp Towel
Wrap a clean, damp (not dripping) towel loosely around the block, leaving the slit exposed.
This keeps the air around the block humid.
Some also use a large bowl of water, that can hold water but does'nt touch the water.
3. Mist Lightly
Mist the towel and area around the cut 2–3x daily. If the towel dried out fully, rehydrate the towel. Finer the mist the better.
Once mushrooms are forming, do not mist them directly. Keep the surrounding air humid — not wet.
You aren't watering the mushrooms, just keeping them from drying out.
4. Harvest & Restart
When ready, harvest all mushrooms fully from the cut. Do not cut them off, but pry them off gently with some of the substrate.
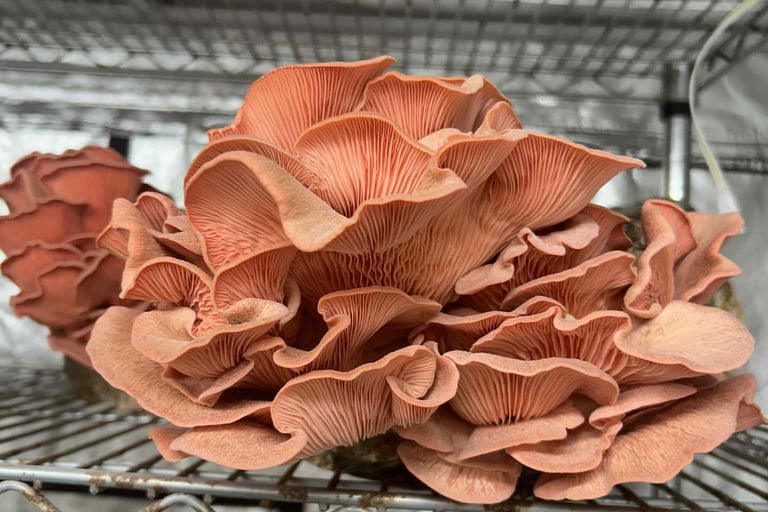
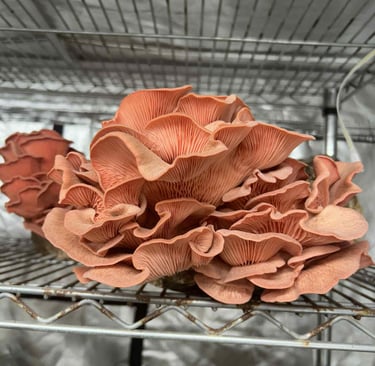
Each block has a "ready" sticker to explain when the mushrooms are prime! Refer to the picture above, see how the edges still have some curl. Harvest before they flatten. When in doubt, pull them.
Tape the slit closed and let the block rest 1–2 weeks.
Then cut a new slit in a fresh spot to start the next flush.
⚠️ Important Notes
Do not refrigerate pink oyster blocks — fruit them immediately.
Most blocks produce 2–4 flushes with proper care.
If your mushrooms turn brown and abort, assess if they could be to dry from a draft or lack of misting, or too wet from spraying the mushrooms too directly. Don't be scared to email us.